Finally! (Hopefully) An enlightening behind the scenes process of the Carbon Knight spot.
For this project I used Maya and Mental Ray to render. I mulled about doing this in V-Ray or Arnold, but due to time constraints and flexibility, I ended up needing to go with Mental Ray because it has some fantastic flexibility and performance tuning options needed for this project. Let us first dig into the materials. We used the MIAX_passes material for everything. This is Mental Ray’s workhorse material and provides tons of performance tuning abilities. Adrian Grey was the artist that did most of the work on the knight. He is an incredibly talented artist.
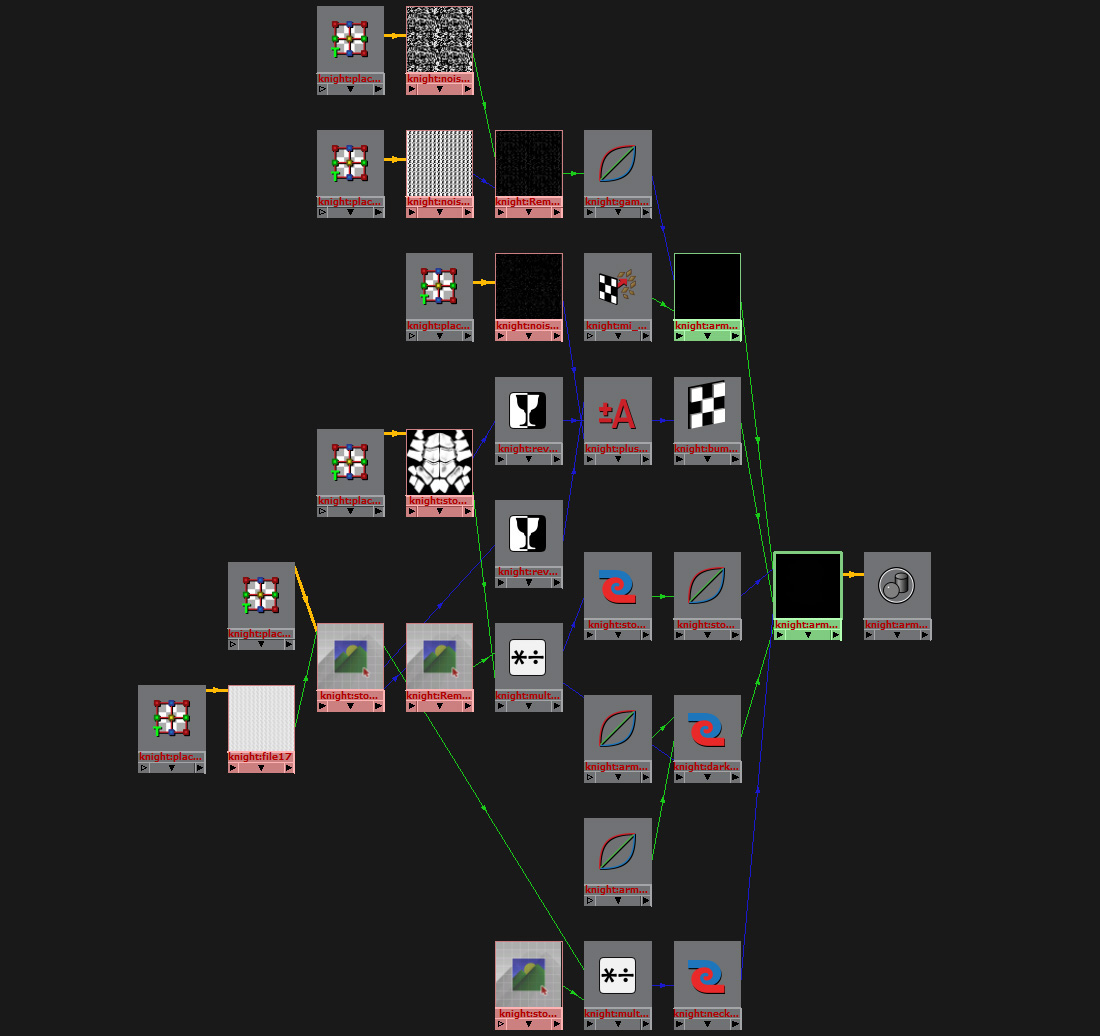
Below is the material network used on our main body material.

As you can see, the material is fairly straight forward. We used a combination of procedural textures and hand painted textures to get the desired effect. We did all of our texture painting in Mudbox, Mari, and Photoshop. Most of our textures were 4k, but some made it up to 8k. Below are some examples of what the textures looks like:


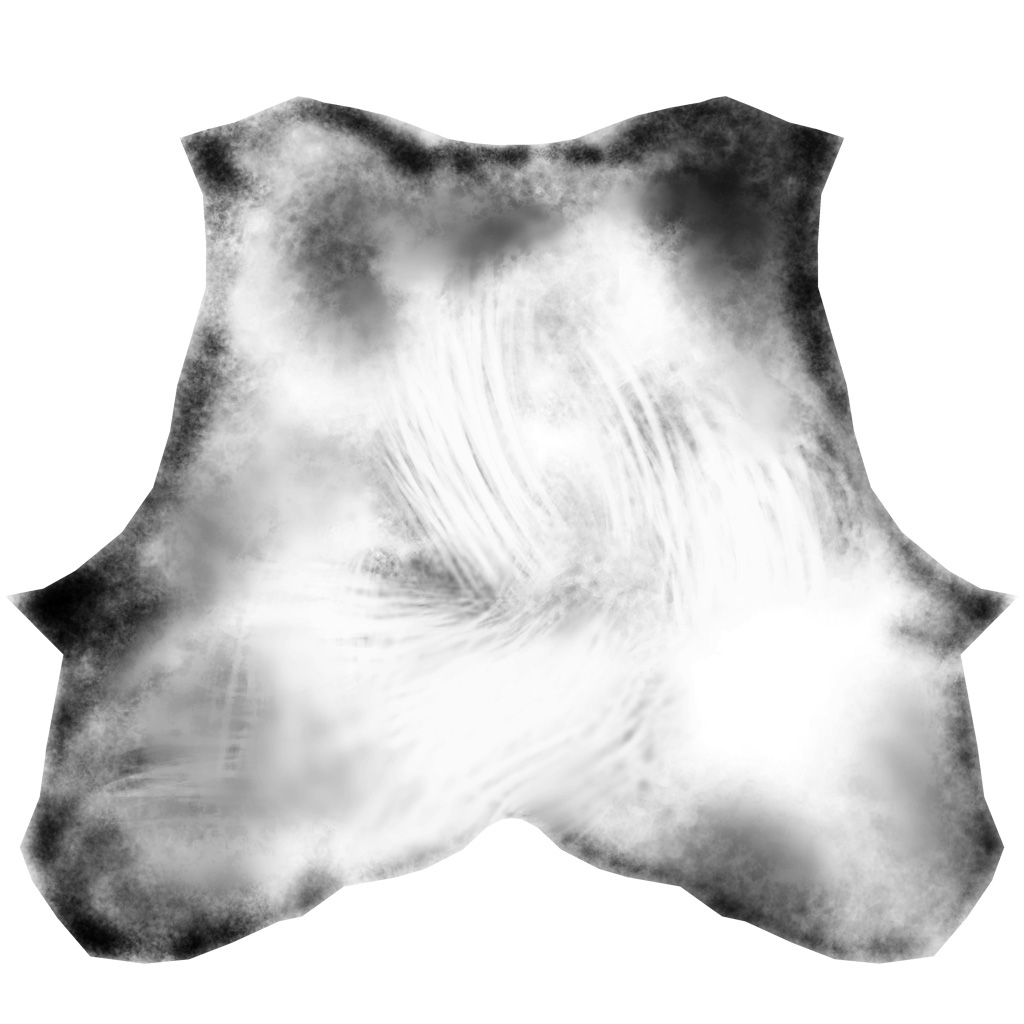
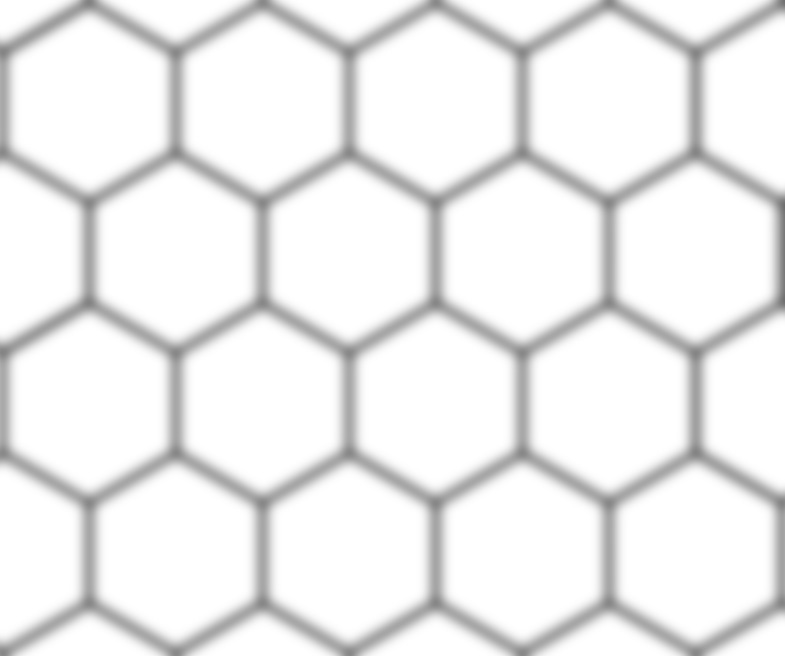
There were tons of these textures that we would layer on top of each other with multiply divide nodes. Or we would use an rgb texture to mask out different aspects of textures. We puts tons and tons of detail into this character. We never fully see a lot of the textures, but if the textures weren’t there, you would be able to notice something was off. It’s all in the details.
Our material parameters were also very straight forward. We set up our look dev scene for the knight using an outdoor hdr from hdrlabs. We included a fully white, a 50% grey, and a fully chrome sphere in the scene. That way, we insured our light levels would be balanced correctly when we were making material adjustments. This made it easy to put the knight in various lighting scenes. As long as the lighting scene was set up correctly, the knight would fit in like a glove.
We used mainly brdf curves between 1.4 and 1.8 for the materials. Sometimes we defined our own brdf curves to enable us to get a certain look we wanted. We wanted to keep our materials as physically accurate as possible, however; in the case of the armor material, we did something a little different.
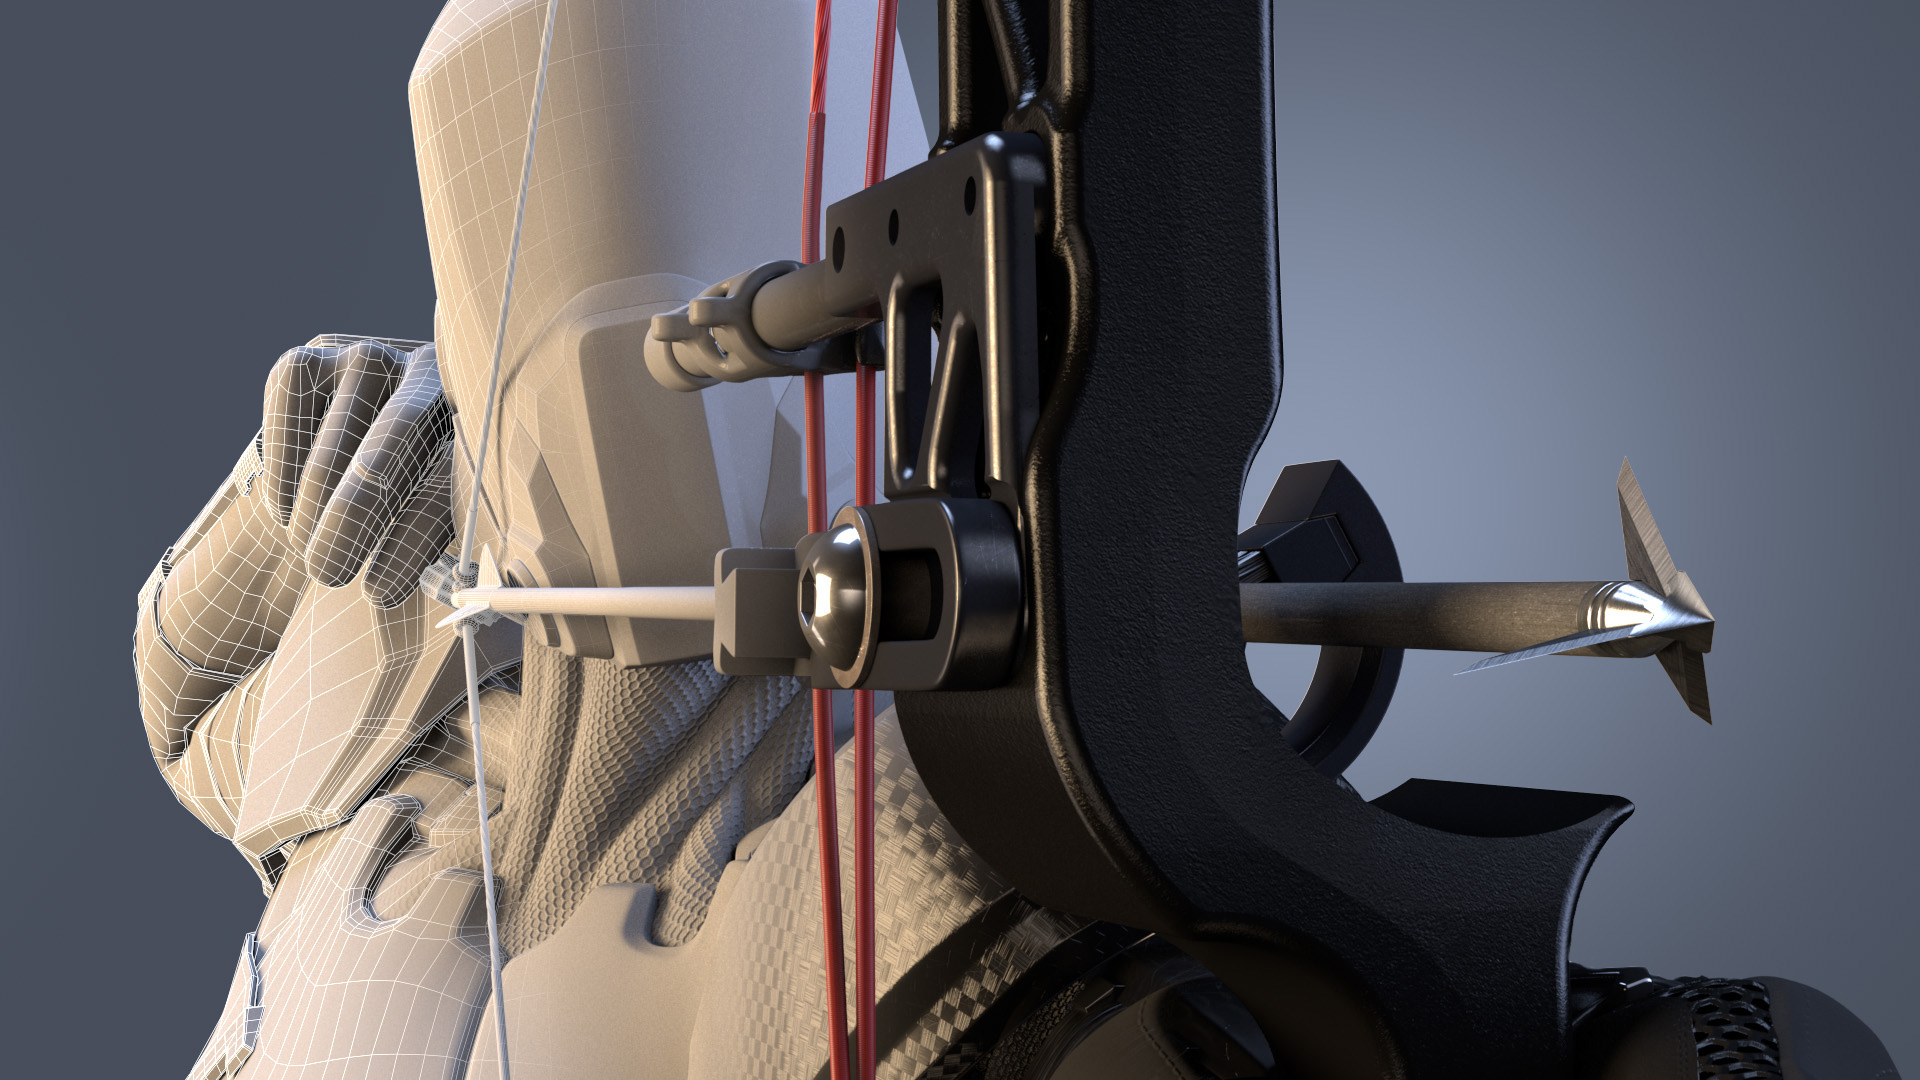
Above is the material network for the armor. We wanted the armor to have these glints in it that would catch our eye, and really give the material some life. We added the mi_bump flakes, but instead of adding it in the bump slot, we added it to the the additional color slot of the MIAX material. This slightly breaks the physical accuracy of the material, but the material and light response we got from doing so was fantastic. You need to understand the rules of material properties, so you know when you can break them!
Every time we were developing the materials for this character, we always tried to think of what the character had been through previously and what sort of life the materials have had. Were they worn? Were they brand new? What sort of battles had these materials seen? This really set the stage for the look of our character and our lighting scenarios. Finding good reference was crucial at this stage. We needed to see how certain materials reacted in different light set ups so we could make sure our material properties were accurate.
The render time killer was the displacement and the glossy reflections. The displacement needed insane settings because the knight’s displaced under garment was one giant piece. We maxed out Maya’s subdiv level and had to create another one in addition to it. That’s nuts! However, 20 minutes calculation times went down to 5 minutes after fine tuning of the global and object displacement settings. They key to this project was optimizations. Optimize, optimize, optimize.
Lighting and Rendering
Here comes the reasons for why I chose Mental Ray over the other render engines for this project. I lit these scenes in two different ways. I either used custom HDRs, or geometry with an mia_light_surface material attached to it. This way, I can control how it appears in reflections and its indirect lighting contribution if I needed to.
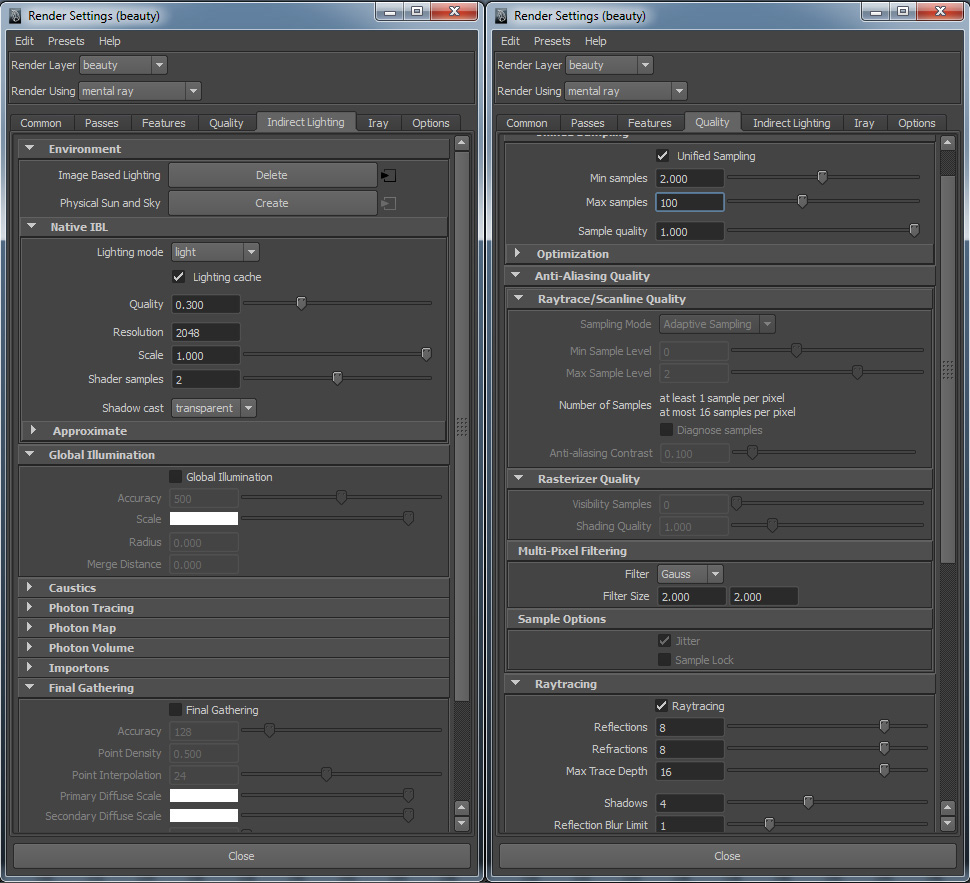
I chose to mainly light with HDRs because Mental Ray has a new importance lighting scheme built into their new native ibl in Maya 2013. This allows for beautiful shadows and light accuracy. The shadows no longer rely on only final gather, but rather on direct illumination from the HDR. In most of the shots, I did not even use final gather, or I tuned it to only interact with certain materials. This of course was more of an artistic choice than anything else to enhance the contrast in the shots; but being able to get direct lighting and shadowing from an HDR without long render times allowed us to not have to rely on final gather as we have had to do in past projects. The inclusion of unified sampling in 2013 made a monumental difference in lowering our render times and bringing out detail as opposed to the old Adaptive Aliasing settings. In most cases we were looking at render times hovering around the 30 minutes to the 1 hour mark, this is incredible when you realize that we had to subdivide the base mesh to 48 million polygons to get the displacement to be solid. Here are my render settings that I used on most shots:
I also chose to light with an HDR rather than traditional area lights because Mental Ray has this amazing little node called “mia_envblur.” The envblur allowed me to plug it into the material networks and have them intelligently blur the environment based on their glossy attributes during lookup while only having to sample the environment once. I still had to sample the self reflections multiple times, but since the HDR caused most of the reflections, I was able to more than halve our render time. Halve!! 3 hour render times — >1 hour = massive savings in render time.
To aid us in light position and material qualities I used Spraytrace. This was an invaluable tool to speed up my lighting and base material setup. It definitely struggled when I added displacement and some of the fancier networks, but it handled the rest like a champ. I was able to flesh out all of our general light setups within one week for our ten shots using Spraytrace by myself. I used different lighting for each spot. Nothing was reused in terms of light setups.
In the shots that I chose to light with geometry, I decided to do so because I wanted a little more control and to have the character be able to move in and out of the light. The cards needed much more sampling than the HDR did, and thus needed much more time to render. I decided against using area lights because it’s light and sampling distribution are very lacking and we needed something more accurate. In these shots I did need to turn on final gather or I would not get any lighting or shadows. I was able to get away with fairly low final gather solutions because everything was so dark, but I did have trouble with flicker on the arrow and fletching. To fix this, instead of cranking up the overall final gather calculation, I did so only on a material basis for those objects.
I think that covers a good chunk of what I did on the project. Hope this helps!
Awesome breakdown man, thanks for posting! This has been really informative tutorial. How do you get the unified control settings? I’m using Maya 2013 and I don’t see them anywhere? Are they hidden? Thanks!
There is a special modified UI that you need to get. There are tons of versions out there. I suggest looking at the Mental Images advanced Rendering forum and on creative crash. There’s also a few scripts floating around cgsociety.